
We’ve all been there—you invest in a new skincare product, diligently apply it every day, and after a few weeks, you check the mirror and think… “Is this even doing anything?”
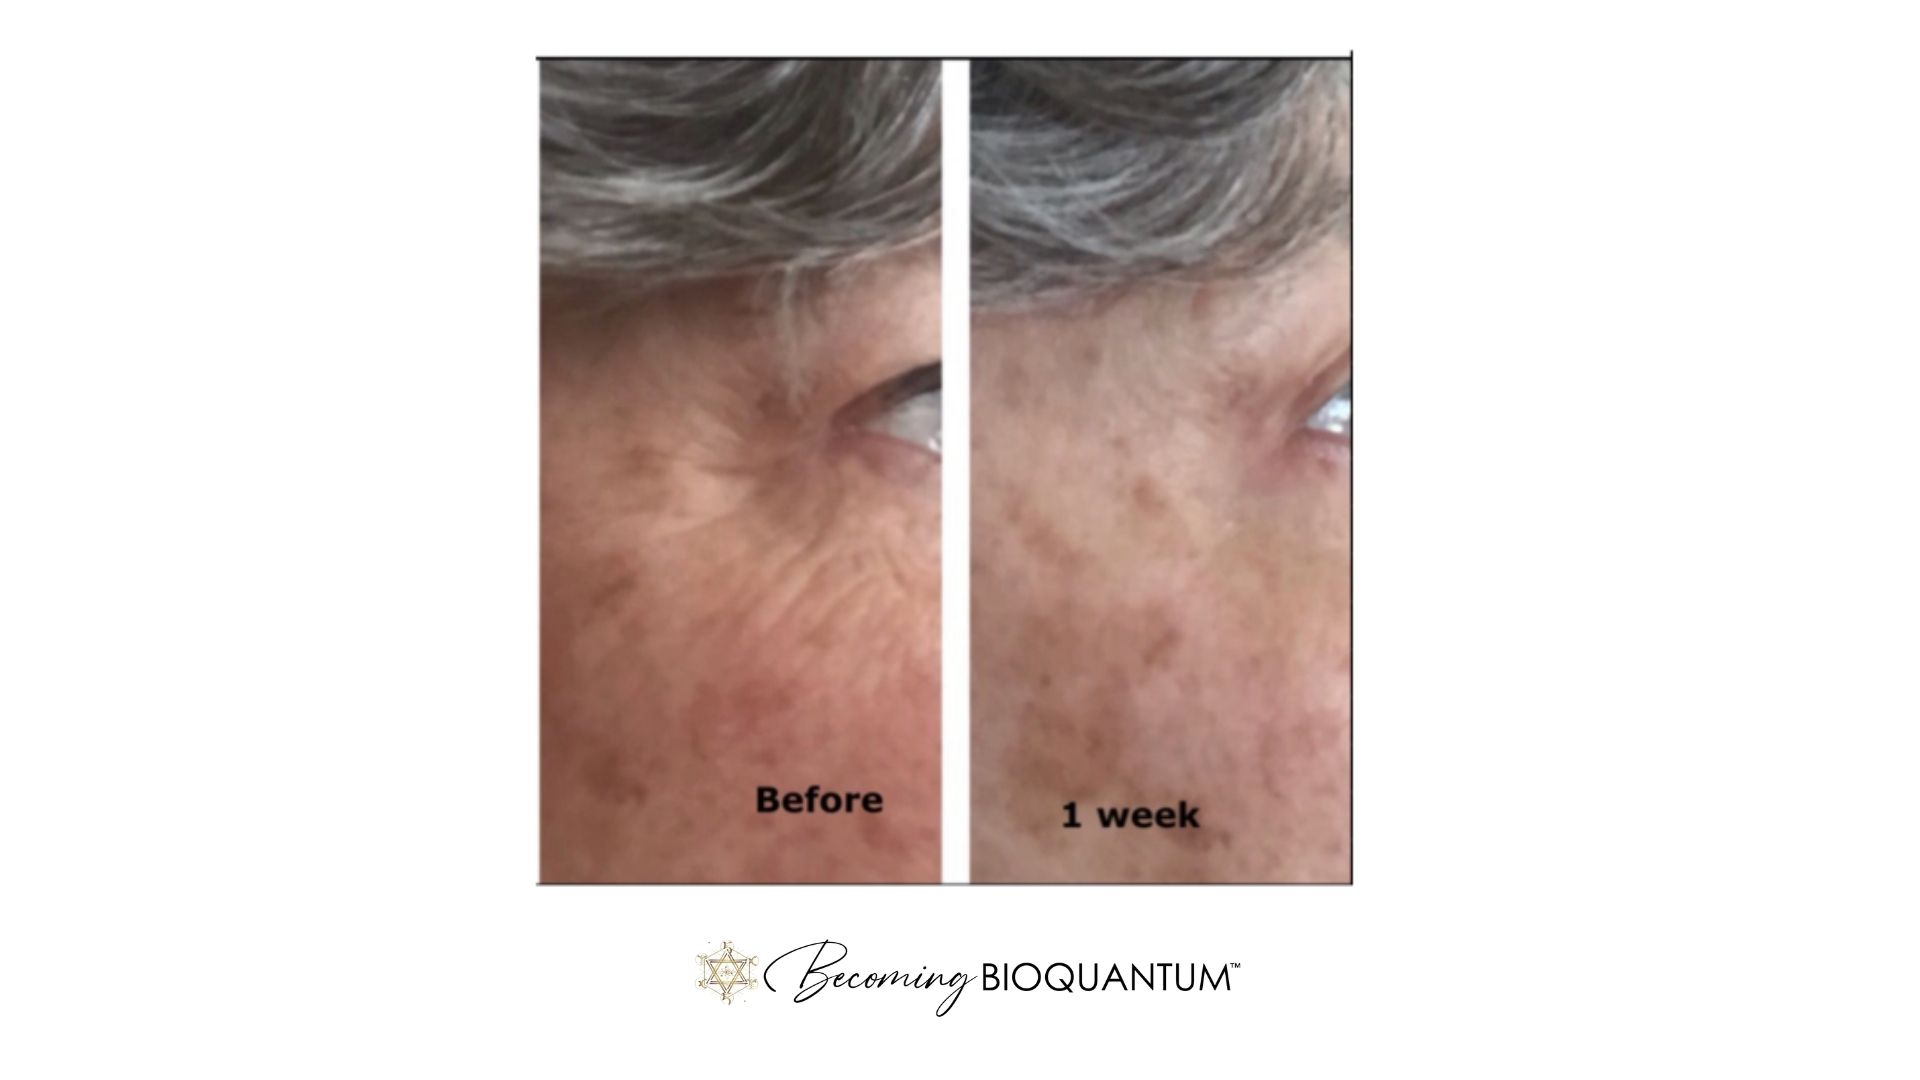
That’s exactly what happened to my mom when she started using one of our face creams. After two weeks, she told me she didn’t see a difference. I asked her, “Did you take an after picture?” She hadn’t. So I told her, “Take an after picture and compare.”
When she finally put her before and after shots side by side, she was shocked. The change was undeniable—her skin looked brighter, smoother, and more youthful. She just hadn’t noticed because the transformation was happening gradually, at a cellular level, beyond what the eye can see in daily reflections.
Every word you speak, every thought you hold about yourself, is a message to your body. When you say, “It’s not working” or “I see no difference,” you are imprinting that belief into your cells. Your body is always listening, responding, and adjusting to the frequencies you feed it. Be mindful of how you observe yourself—are you looking for lack, or are you open to transformation? Instead of reinforcing limitations, shift your perspective: “I trust my body is regenerating,” “I am seeing more radiance every day,” “My skin is renewing at a deep level.” Your perception shapes your reality. Think before you speak—ask yourself, “Is this what I want to tell my cells?” Because the moment you choose to see change, you align with it.
If you want to truly measure your skincare progress, taking a proper before-and-after photo is key. Here’s how to do it right:
1. Use the Same Spot & Lighting
Lighting can make or break your comparison photos. Always take your pictures in the same location, at the same time of day, using natural light if possible. Artificial lighting can cast shadows and change the appearance of your skin, making it hard to see real results.
2. Keep It Real—Minimal or No Makeup
For an accurate comparison, start with fresh, clean skin. Avoid makeup or at least keep it minimal—just a touch of mascara or lip balm if needed. This ensures you’re seeing actual skin changes, not just the effect of cosmetics.
3. Take Both a Front & Side Shot
A straight-on photo is great, but sometimes the most noticeable changes happen in profile. Take at least two pictures:
-Front-facing – To see overall brightness, fine lines, and texture changes.
-Side profile – To track jawline, cheekbones, and deeper skin improvements.
4. Use the Same Camera & Angle
Whether it’s your phone or a professional camera, stick to the same device for both shots. Position your camera at the same distance and angle each time so the images are as comparable as possible.
5. Be Patient—Transformation Happens on a Cellular Level
Results don’t always jump out at you in the mirror. Your skin cells are regenerating, spinning at a higher rate, and becoming healthier from within. Sometimes, your brain adjusts to slow changes and doesn’t notice the full impact—until you see that side-by-side comparison.
The Bottom Line? Trust the Process. Track the Progress.
Before-and-after photos are the best way to truly see what’s happening beneath the surface. Give your products time to work, document your journey, and be open to the possibility that your skin is transforming in ways you never expected.
So before you say, “I don’t think it’s working,” snap that picture—you might be surprised by what you see!